MacOS has been my desktop platform of choice since 2005 or so..
I started to really warm up to the Mac when the first Mac Mini came out (early 2005) and I made the Mac my primary desktop and development machine with some of the earlier Mac Pros (not sure which one though). I have been very disappointed in newer Mac Pros though…
Lately, I have found the Mac Studio to be a decent proposition… compared to the competition. And that’s only because the competition still hasn’t caught up to MacOS, not because I really like the way Apple closes down everything :/
Page 1 / 4 (40 Posts)
Git Tower "Device not configured" - Fix!
Every now and then my Git Tower will stop working "out of the blue" with a message saying something like "Device not configured". I found out it actually doesn't really happen out of the blue. Rather, it happens every time I upgrade Xcode... or when I…...
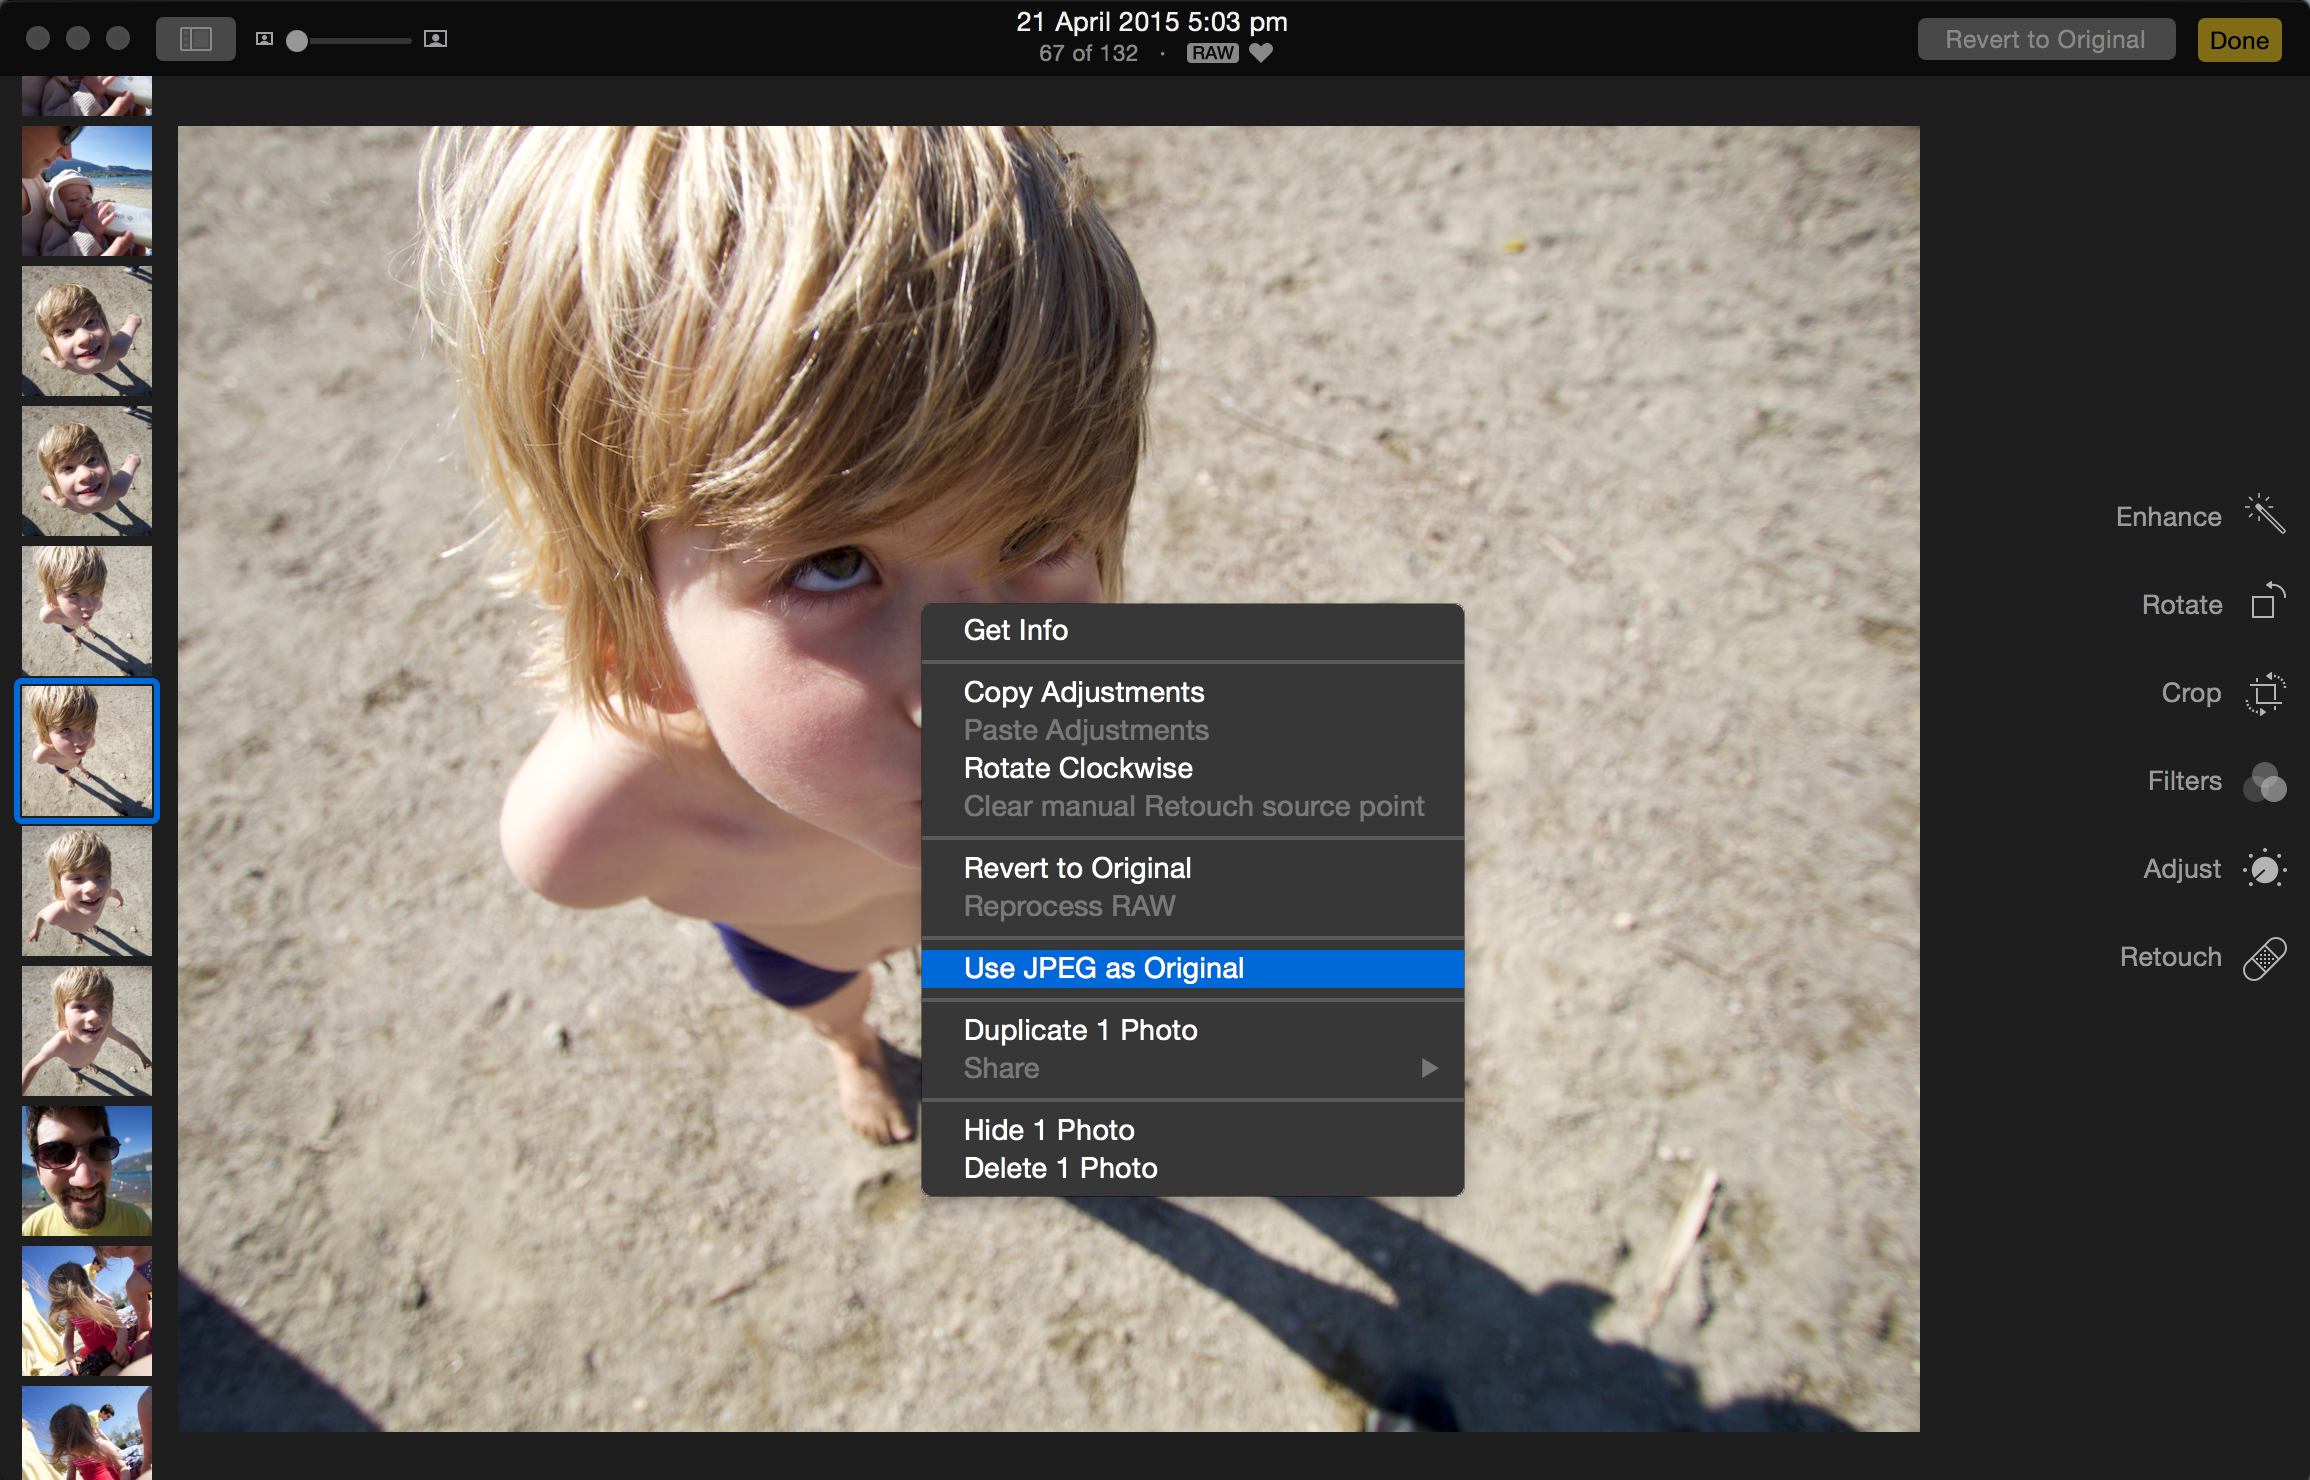
OS X 10.10.3 Photos.app Survival Guide
After a lot of doubt and long consideration of alternatives such as Adobe Lightroom, I finally switched from Aperture to the new Photos app in Mac OS X 10.10.3 -- and to the iCloud Photo library too. Here's a quick overview of my pain points and how I worked around them…...
How to disable Adobe Reader in Safari
Sometimes you have to install Adobe Reader because some pesky government agency forces you to use a pesky PDF file that only works with Adobe Reader. And once you install Adobe Reader, it will take over your whole Mac, even the default PDF preview in…...
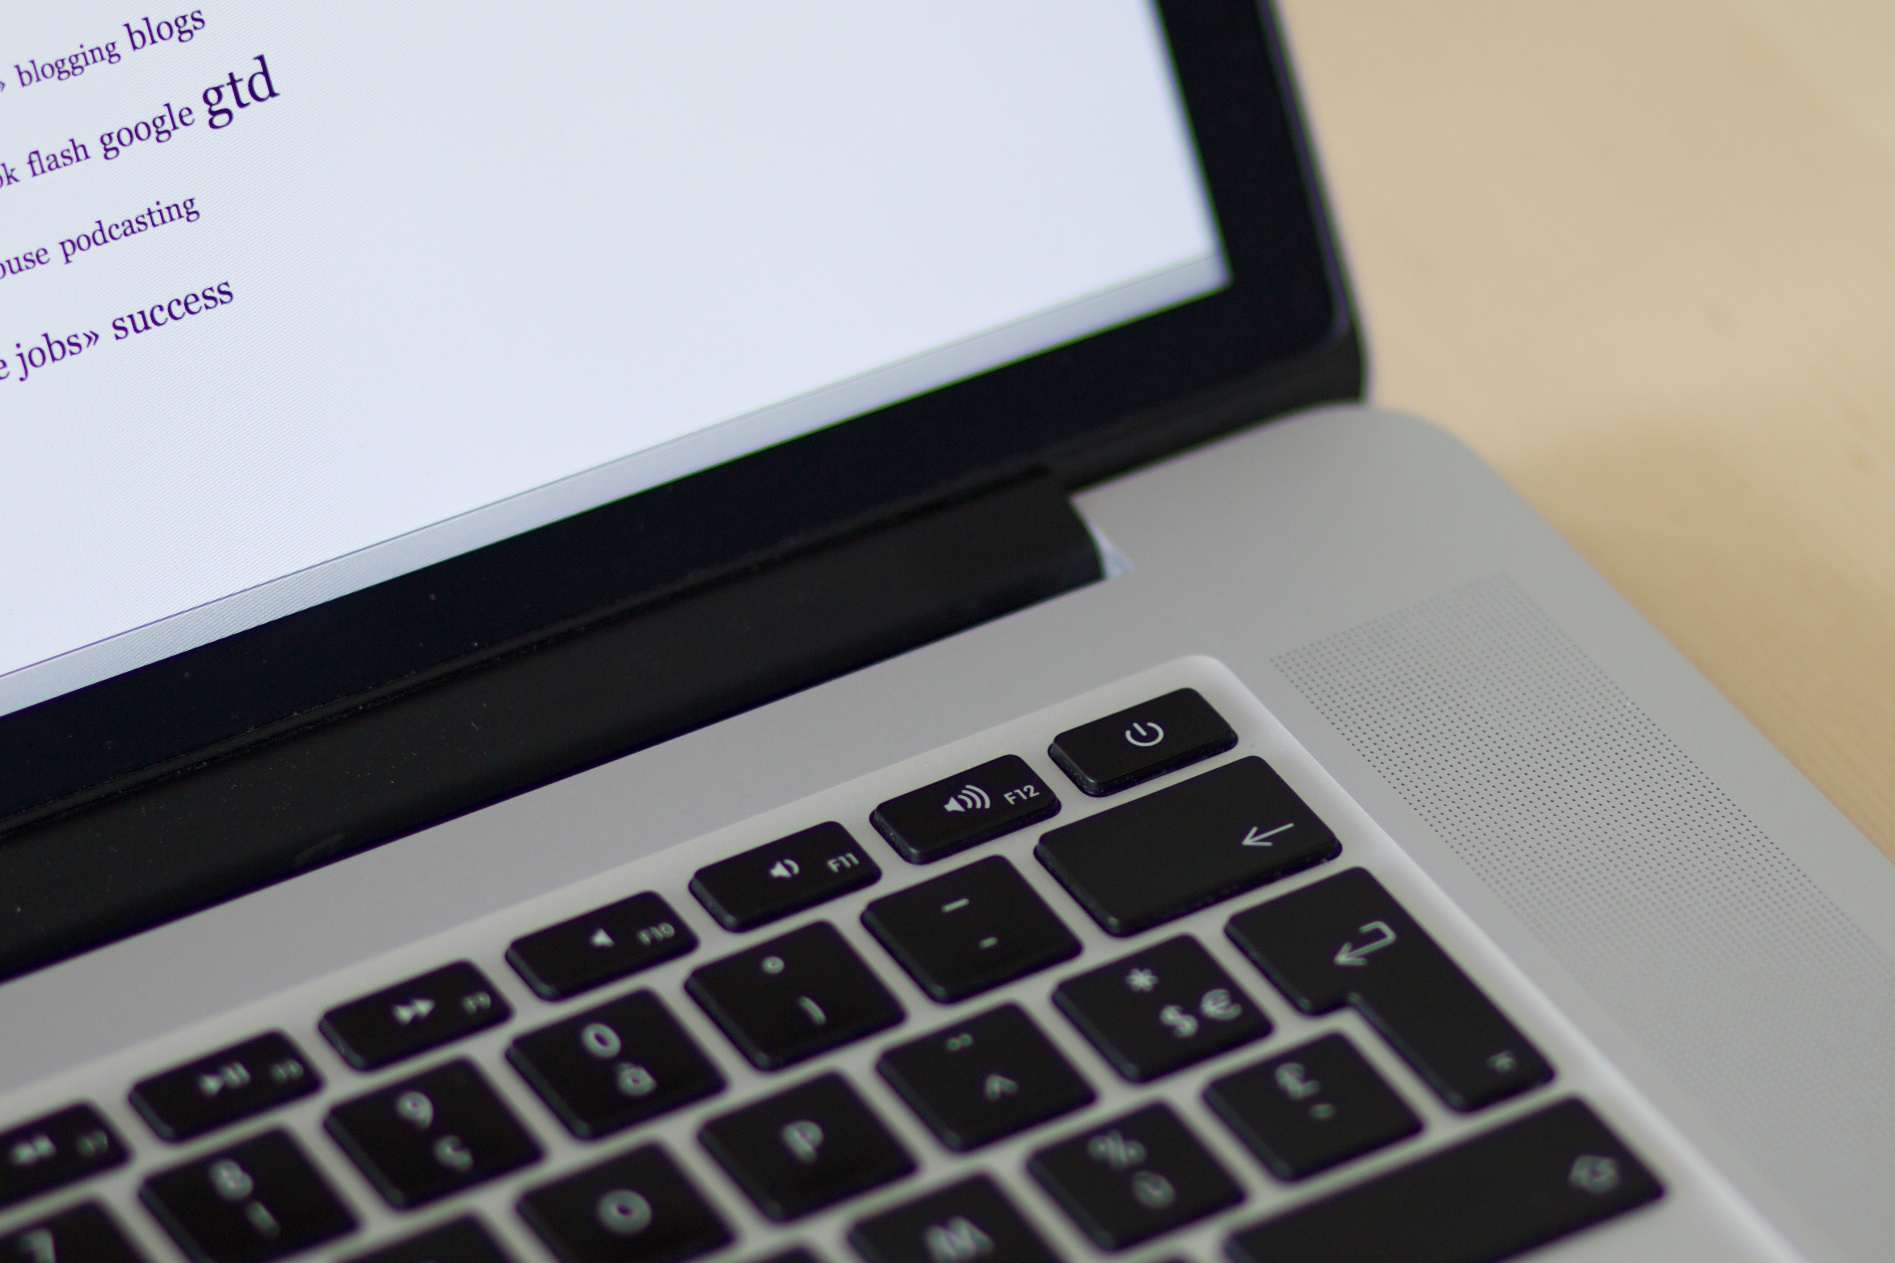
The power of the power button! (or eject key)
You might wonder what to do with that Eject key on your Mac keyboard, now that drives with ejectable media are gone... or you may not use your power key to its full potential...
Personally, I've been using Ctrl + Eject or Ctrl + Power (depending on…...
How to insert Tabs in a textarea (OS X)
Whenever you're on a web page with Safari, Chrome or Firefox and want to type a code snippet (or maybe just align what you type) you might be tempted to use the tab key...
But no, luck it moves the browser focus instead of inserting a tab into your…...
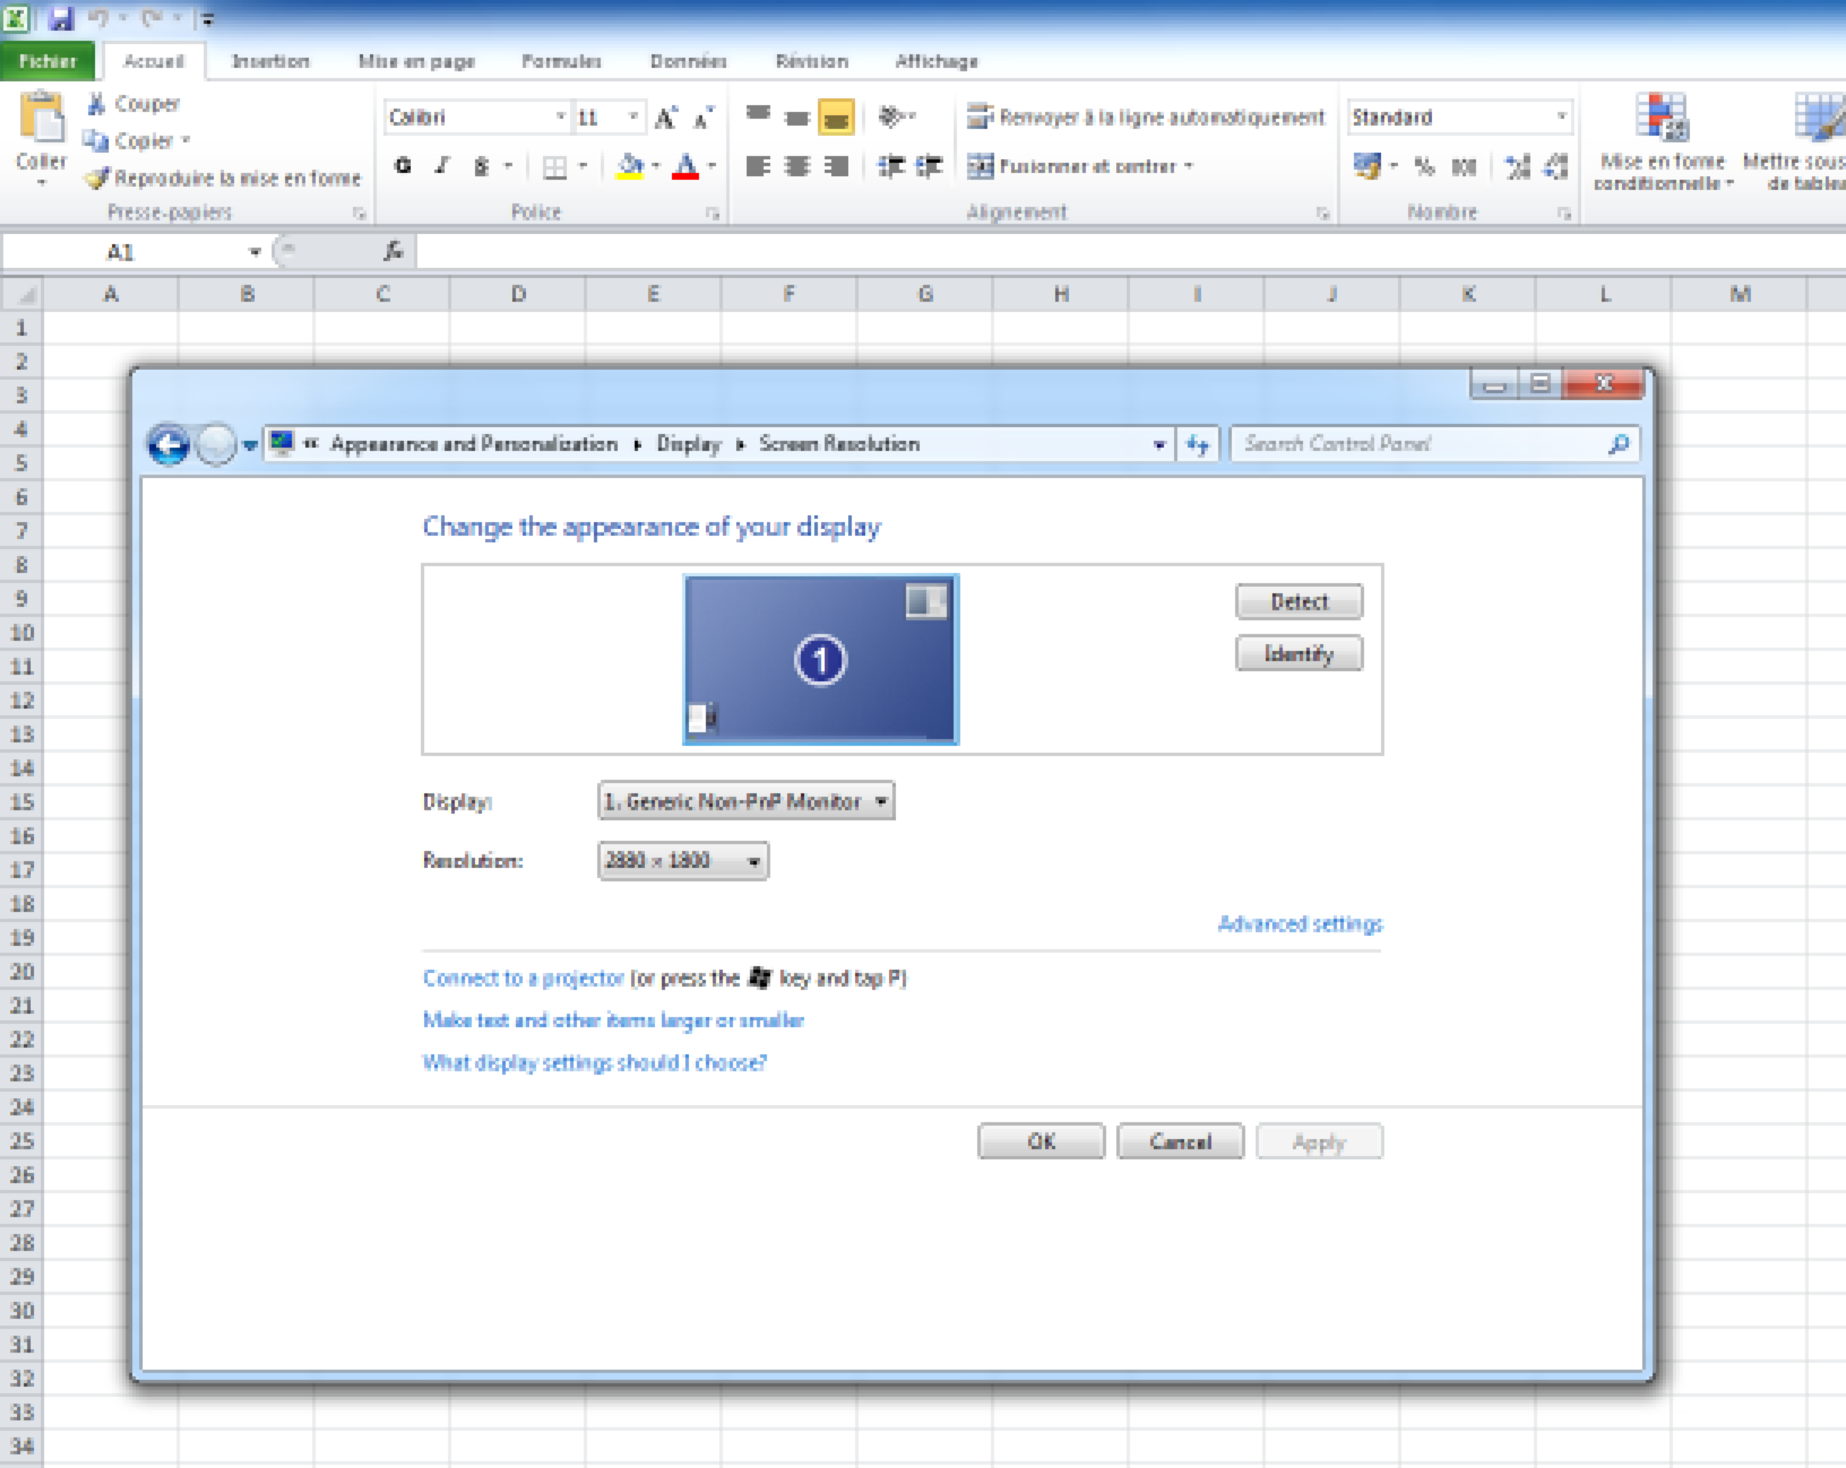
Parallels Desktop 7 with Retina resolution - FAIL! (Screenshots)
Parallels has recently announced in a video that their virtualization solution Parallels Desktop for Mac now "takes full advantage of the Retina Display on a Mac". That sounds awesome, but it's not true. It's actually pretty much a lie! :(...
Mac OS X Lion: How to clean up the 'Open With' menu
When you right-click (or control-click) on a file in the Mac OS X Finder, you get a contextual menu with a nice "Open With" option, which lets you open the selected file with any Application that you desire to. That is pretty nice until that menu gets…...
How to remove constantly launching services on Mac OS X
Even after you uninstall it, some Mac OS X software just won't quit nagging you or notifying you of updates or at the very least polluting the Console Messages...
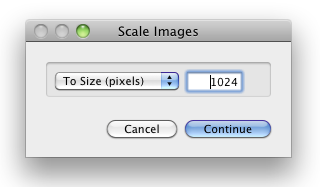
How to quickly resize pictures on Mac OS X
Oftentimes you want to email some pictures or upload them to a website but your image files are actually too large. I have put together a small Automator App that makes it as easy as 1-2-3 ;)...
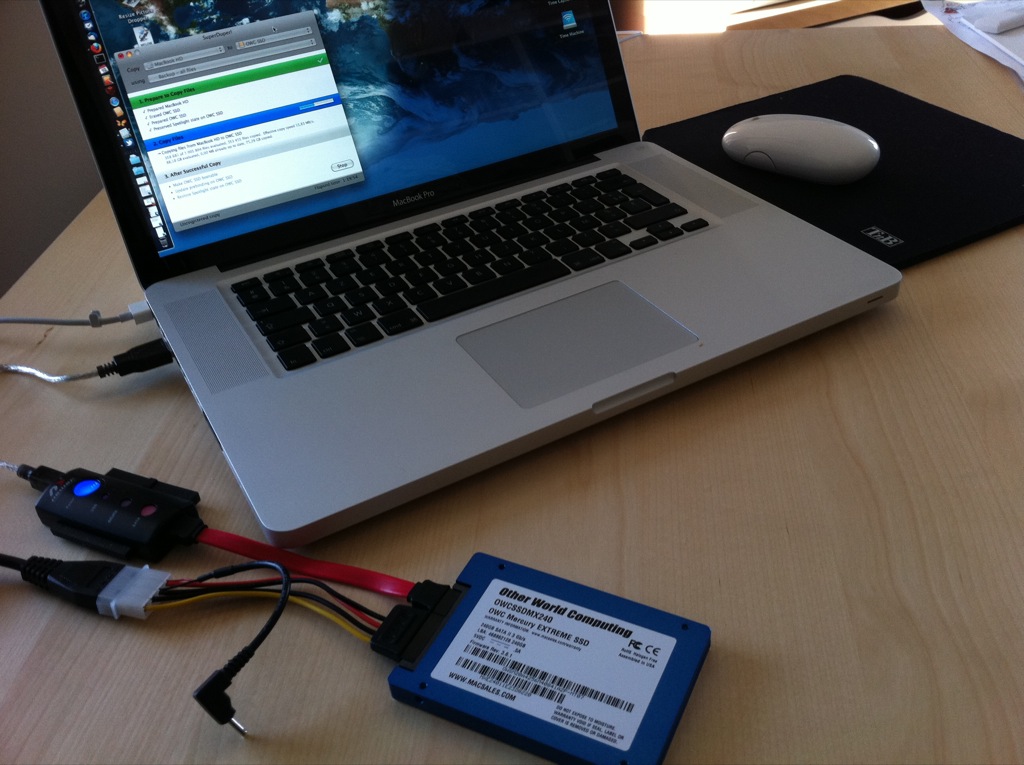
Upgrading all Macs to SSD
I recently ordered an SSD drive from OWC and proceeded to replace the stock drive on my good old MacBook Pro (one of the first unibody series). The process was actually easier than I originally thought: just connect the new drive using an universal dri…...