Getting Started with Raspberry Pi (2017)
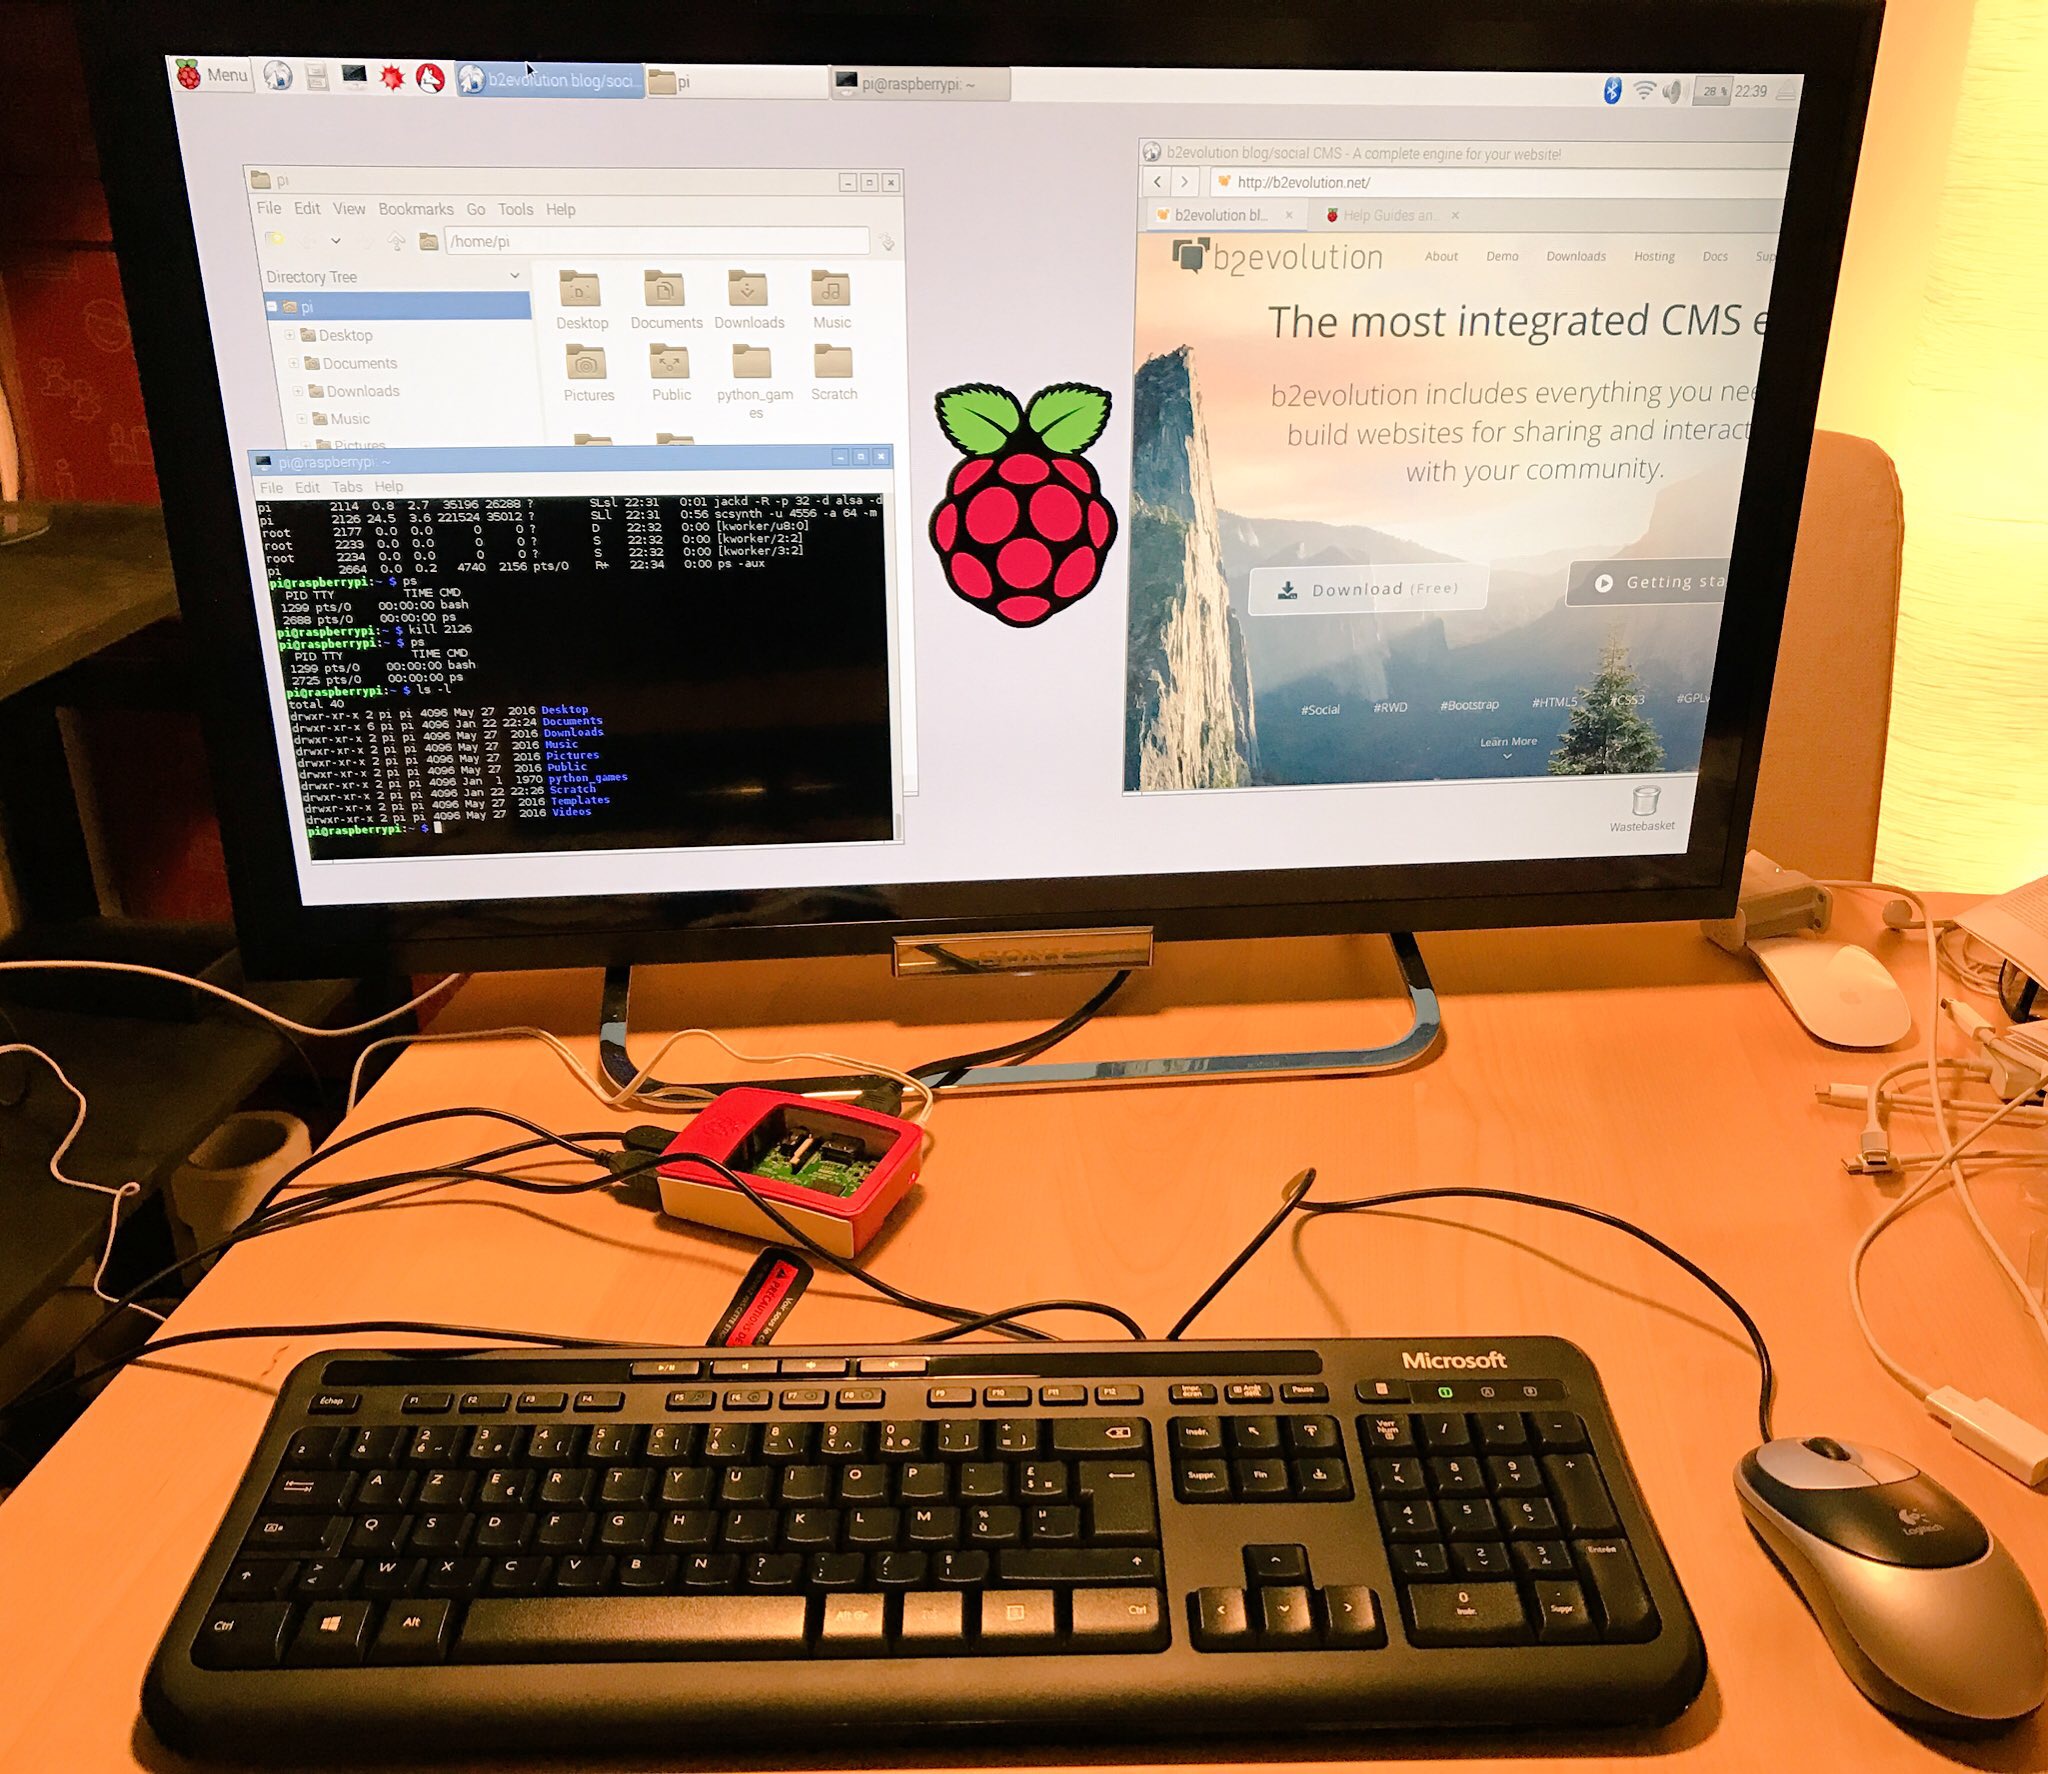
The above is my first boot up of my Raspberry Pi 3, as purchased in January 2017.
I am writing this because so much of the information you can find on Google about the Raspberry Pi is actually outdated with regards to what you get when you order one in 2017.
In my case, I got a starter kit including an SD card, preloaded with NOOBS (which stands for "New Out Of the Box Software").
First thing to watch out for: you want to get a Class 10 SD card. These are the fastest available at this time. You can identify the card by its "C10" logo (or better said: a "10" with a "C" wrapped around it).
NOOBS is supposed to give you a choice of operating systems... except when it doesn't. And in my case it really didn't seem to offer any choice. When I booted up the Raspberry Pi for the first time, it booted straight into some version of Raspbian (the "standard" OS for the Raspberry Pi, based on Debian 8).
I'm not sure which version of Debian it really was because I could never get back the exact same one later (after installing something else...)
Boot into Recovery mode
So here's what you need to know if you actually want to choose which OS you want in NOOBS: Reboot the Raspberry Pi and hold down the Shift key. This will launch the Recovery mode of NOOBS and actually let you install the OS you want... except when it won't let you...
When I first did this, it offered my only one choice which was Raspbian.
After some research I found that this is normal. Only Raspbian is included by default...
Give NOOBS internet access!
In order to get other OSes, you actually need to connect to the Internet so that NOOBS can download additional OS images.
It's interesting the note that NOOBS can easily connect to WiFi without you entering a WiFi password. If your WiFi router has a WPS pairing button, press it and tell NOOBS to auto-pair.
Once NOOBS is connected to the internet, you actually get a wider selection of OSes to choose from:
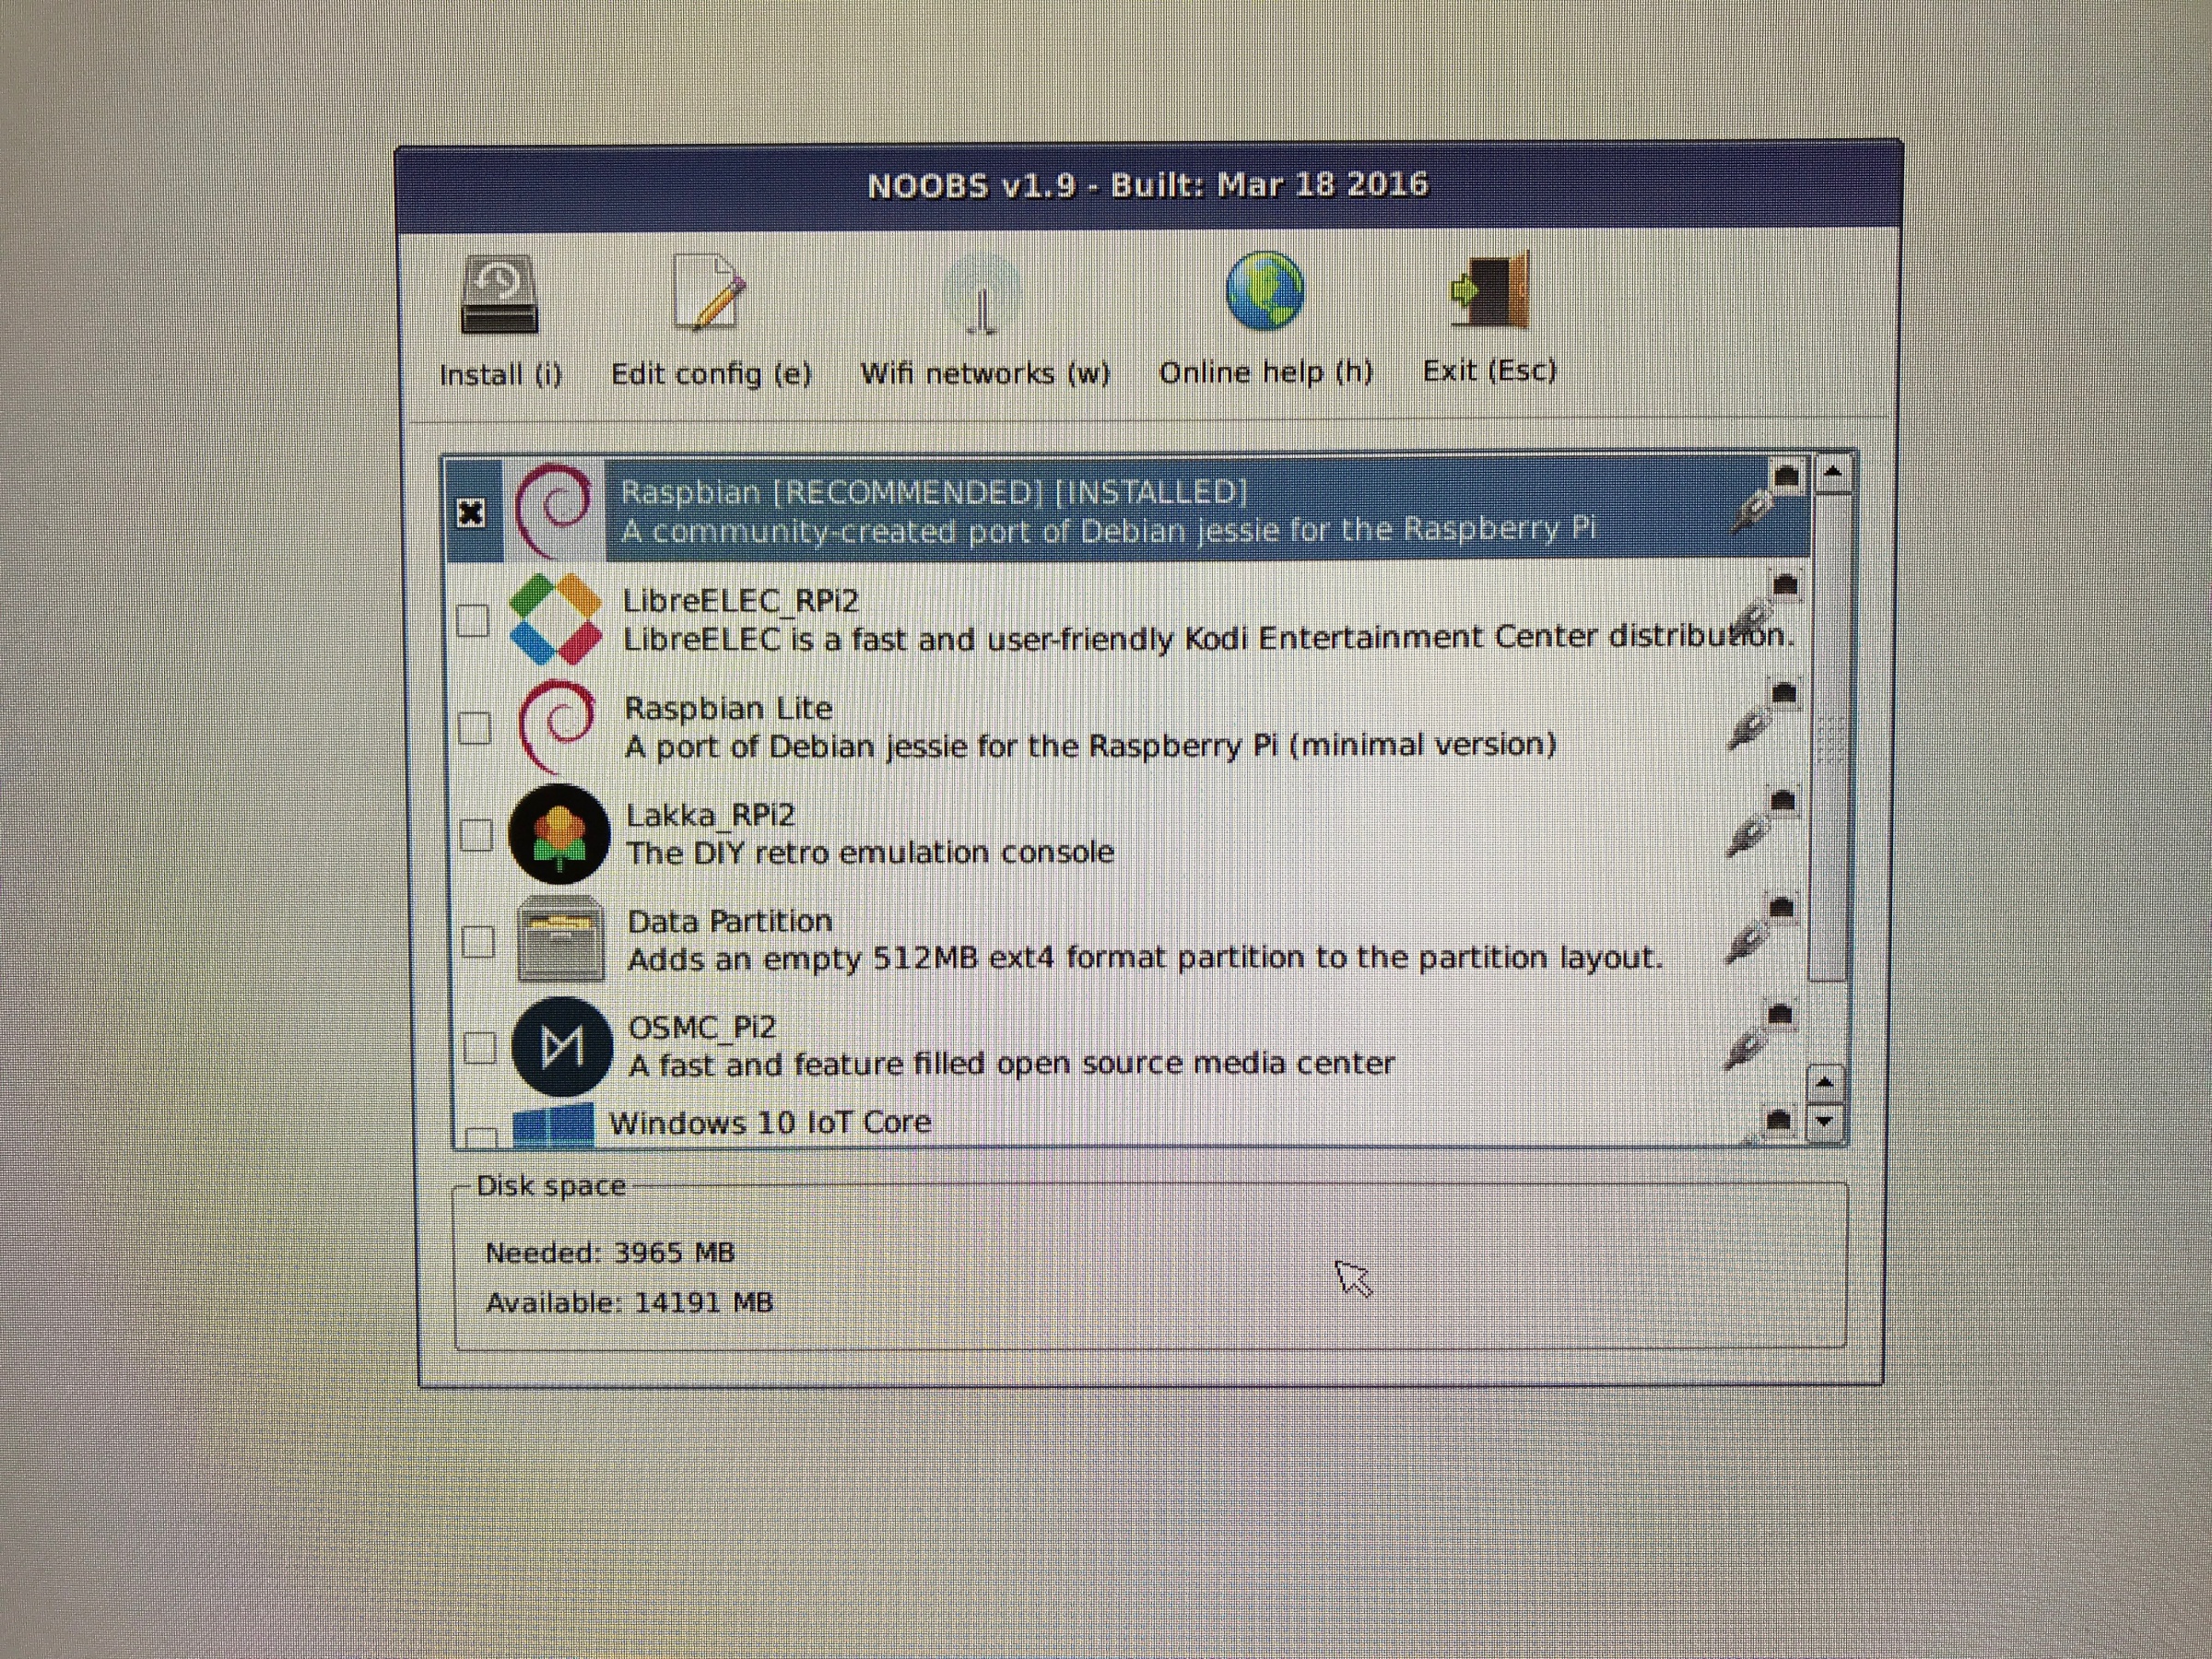
You can install more than one and NOOBS will act as a multi-boot loader at every restart.
There is a catch though: every time you want to install an additional OS or remove one you don't need, NOOBS will wipe out everything you have on your SD card and re-install everything from scratch. That's the moment I realized I would probably need several SD cards to swap out and be able to keep some stuff safe while experimenting with other OS packages. (I guess backup/restores would also work, but it would not be very convenient...)
I wish there'd be some system to have, say 4 partitions on the SD card, and being able to change the OS on each partition without affecting the others.
root password
The other thing I have wrestled with a little bit was to find the root password on Raspbian.
By default, you connect as user pi and your password is raspberry.
You can perform a series of system tasks by prefixing them with sudo. However, there are many times where you actually need to log in as root. But there is no root password!
So you actually have to create your own root password by typing sudo passwd root. After that, enter a new password for root and you'll be able to use it from that point on.
Ok, that's all for now. Back to trying out OSes...
WWDC 2016 : Carplay getting smarter?
I haven't ranted for a while, so here's something: my biggest gripe about Apple Carplay!
I basically need two things when I drive:
- directions
- and controls for what I am listening to.
But Carplay refuses to let these 2 essential things share the screen.
To add insult to injury, Carplay makes switching from one to the other especially hard!
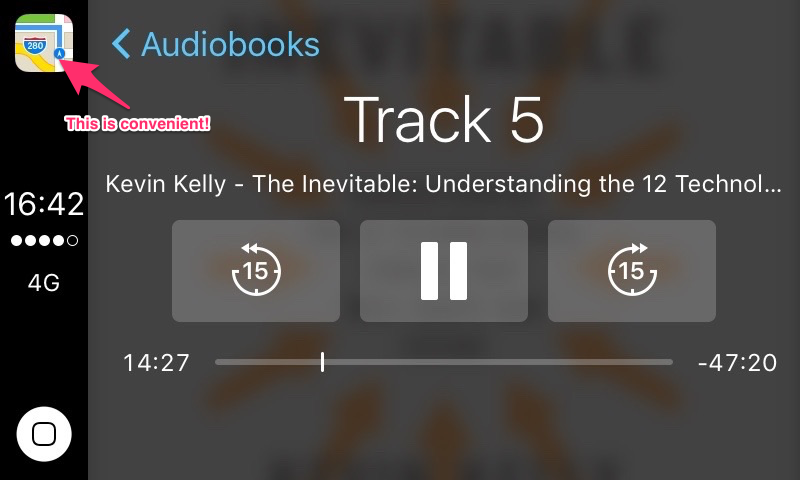
For example, when on the "Now Playing" screen, I have an icon to go to Navigation: (so far, so good)
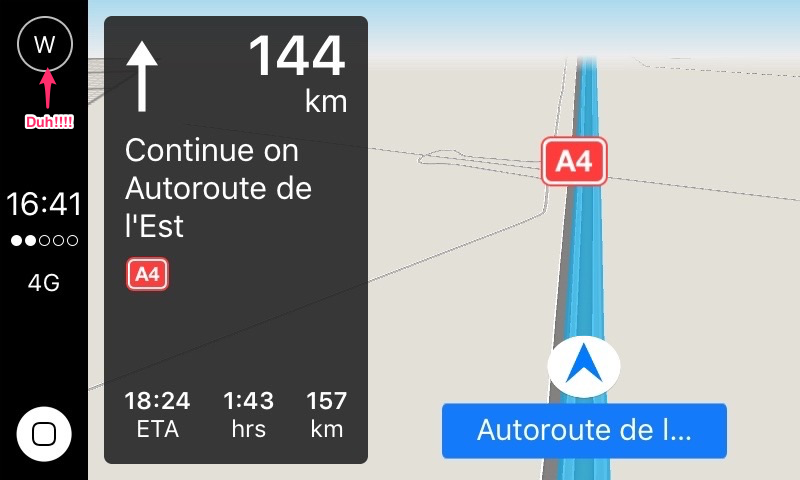
But now, when on the Navigation screen, all I have is a completely useless compass in the place where you'd expect an icon to switch back to "Now Playing":
In case you wonder why I can't just use the car controls to skip to next and previous song, it is because I am not listening to songs! I am listening to Podcasts and Audiobooks. And for those, the controls you need the most are:
- "I didn't get that, rewind by 15 seconds"
- "yada yada yada, skip forward 15 seconds" (also useful for boring commercials)
Now, after years of no change to this, I have a tiny tiny hope that the next version will finally solve this. Look at this screen from the WWDC Keynote:
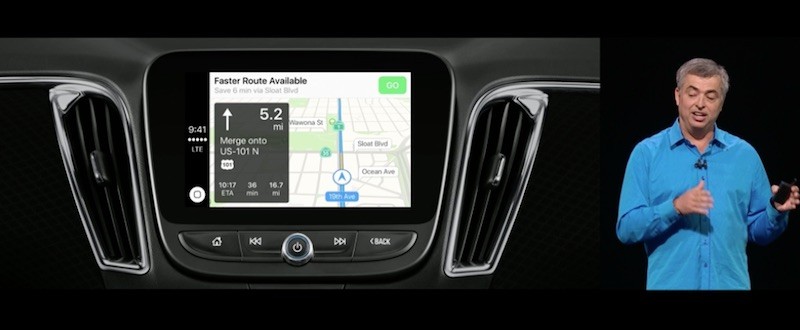
The compass is gone! Yay! But did they replace it with a "Now Playing" icon when something is playing??
Markdown Notes App with Outline
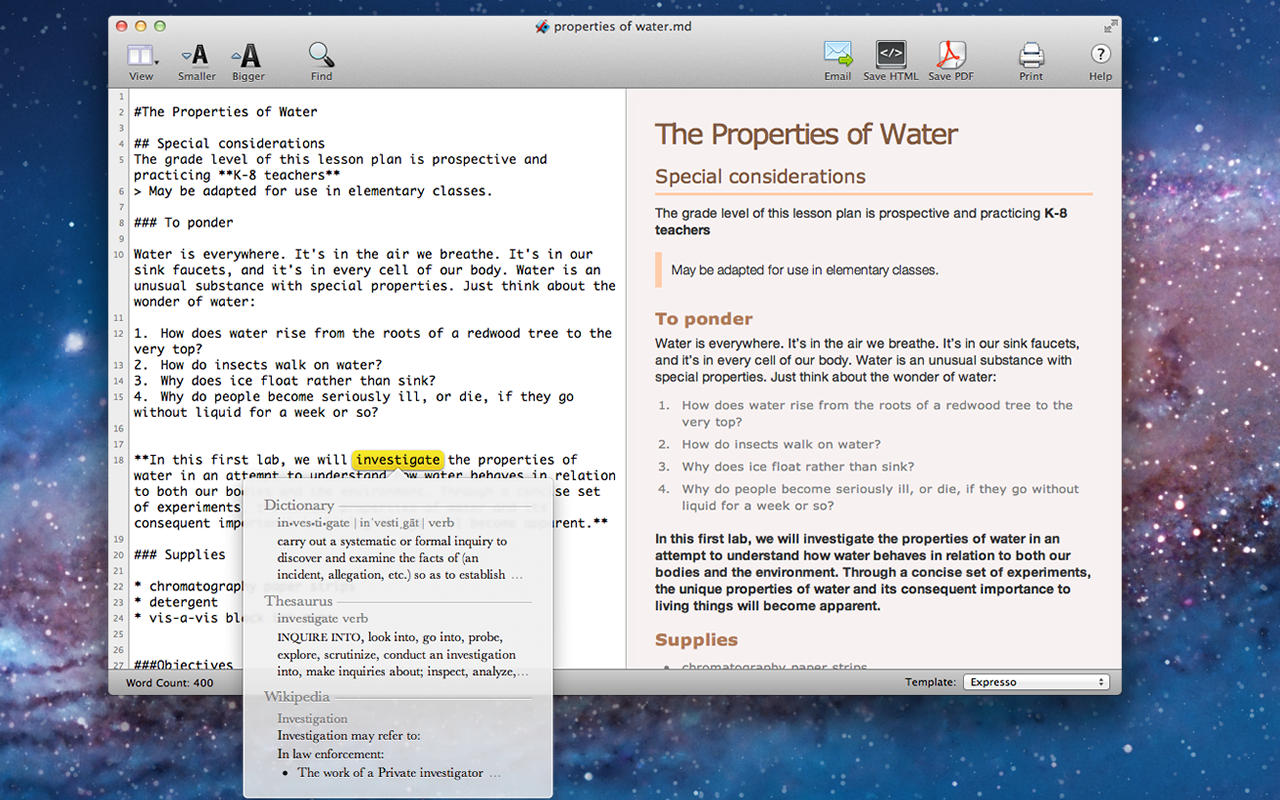
If you search on the Mac App Store, you will find dozens of Markdown note taking apps with a markdown pane on the left and a preview / reading pane on the right.
Many of them also feature a sidebar on the left where you can "conveniently" browse your files. Yay!
Yet, none, and I really mean none of them, offers an option to see an outline of your document in the sidebar!!
Why?
I have notes that are 30 pages long. They are living documents, with a structure. They make full use of 4 or 5 levels of headings. And scrolling up and down to find the relevant part just isn't practical. Having an outline would allow to click and quickly scroll to the relevant part of the document.
I so wish someone would implement this.
Do one thing today!

Ok, this is one of the most powerful productivity tips ever: decide on the one thing you are going to do today, and make that decision quickly after waking up!
More specifically, try to think of the 3 to 5 things that annoy you the most / that you have been putting off / that seem difficult to start. There is generally a high correlation between the aforementioned attributes and the importance of the task!
Once this is done, pick one, and only one of these and decide that you will do it today. This will focus your mind on that single task and you will actually find both the energy and clarity of mind needed to get that task started. And as always, once you take the first step, the next one will light up... Only the first 5 minutes are really really tough! (Downright psychological torture in some cases... but the rewards after the first 5 minutes will be enormous too...)
Git Tower "Device not configured" - Fix!
Every now and then my Git Tower will stop working "out of the blue" with a message saying something like "Device not configured".
I found out it actually doesn't really happen out of the blue. Rather, it happens every time I upgrade Xcode... or when I upgrade Mac OS X altogether.
The real problem is git doesn't want to work any more as long as you haven't accepted the new Xcode user license.
To fix this, simply open a terminal and type sudo git. Then follow the instructions and accept the Xcode license.
Then restart Tower and everything should be fine again.